Originally published on December 16, 2010
Added the Sheepherders hook to side this morning which was the final thing for the wagon part of this project. Of course I still have to flesh out the interior and also add a few more objects hanging on the outside.
–
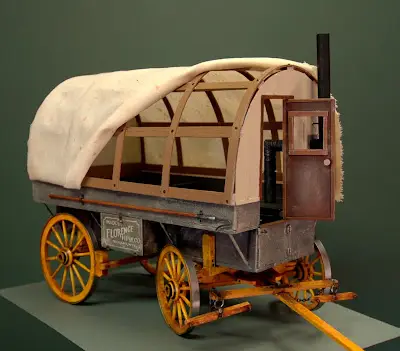
If you compare the wagon before it was weathered to what it looks like now you can really see the importance of this step. Now it looks like it just rolled into the studio from being out in the field for quite some time. I used a light brown on the wheels first. Drybrushing it pretty heavy where the spokes meet the rims and humbs. Where the hubs meet the axles I used Dark Burnt Umber to indicate grease. On the wagon box I used a very light tan lightly applied and then a little heavier around the corners or anywhere there would be wear. The wagon makers name on the side box is authentic for the period and the area where it would have been used. The chains for the front tongue came from some necklace jewelry I found at WalMart. Oh, I figured out a way to hinge the front door by using short lengths of wire. I just used a piece of old drop cloth for the temporary canvas cover. Judy will have to sew the real one. I will live it rolled up as shown so the inside can be viewed.
–
I think it really turned out well and am now glad I waited those past years before finishing it. It’s going to make a great anchor for the scene which, if it turns out how I visualize, will be a real winner.
As always your comments are welcome and appreciated.