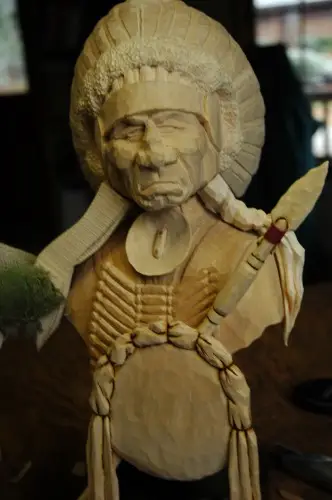
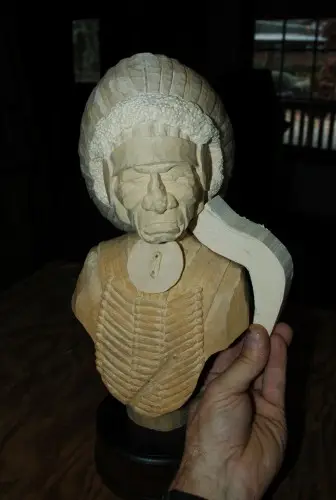
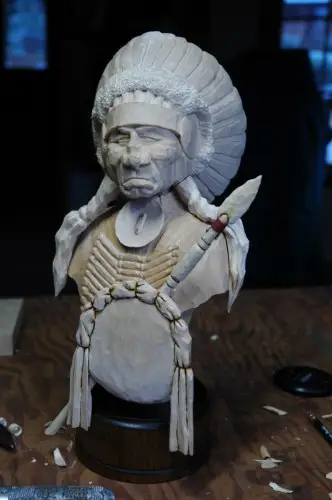
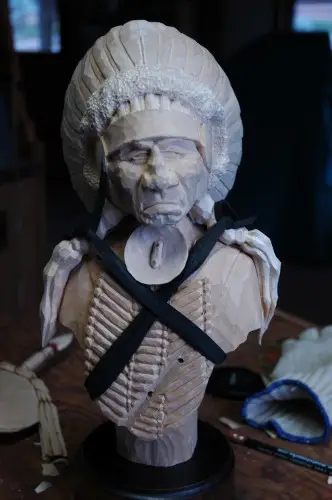
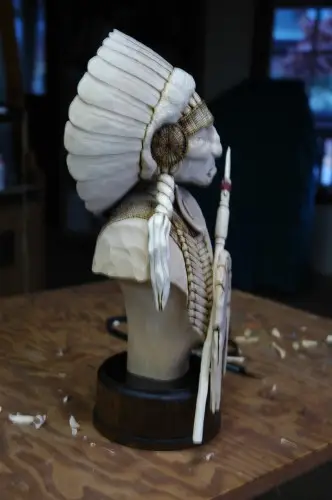
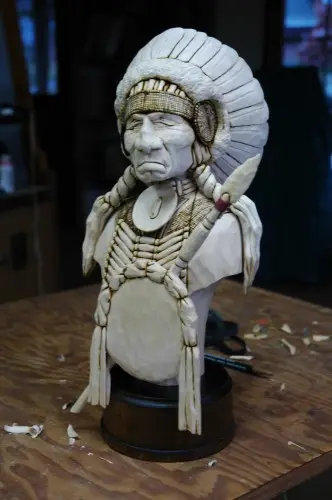
We’re getting serious now! With the braids carved and attached the bust carving part of this piece is basically finished. In this one, to determine the shape of the braids, I used a fine wire to bend and follow the shape as the braid lays over the shoulders of the figure. Drill a small hole at the base of the head where the braid will be attached. Stick the wire up in that hole and then bend it as you follow down the shape of the braid. This might be a little difficult if it’s the first time you’ve done something like this but I’m pretty sure you can handle it. This Will give you the shape of the bottom of the brade as it touches the shoulders. Once the braid is carved it’s attached using a small galvanized nail epoxied into a hold drilled into the head and the braid. Use enough epoxy to fill the dail holes and surface of the pieces when they are pressed together. Any overflow glue can be carved off once the glue is set. I used rubber innertube band do hold things in place while the glue dries.
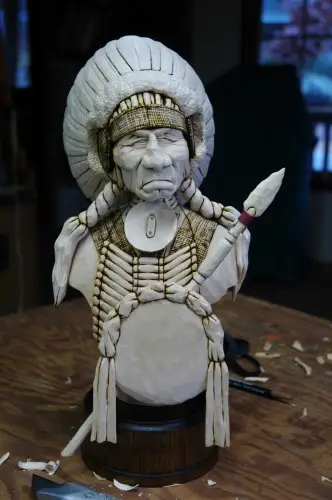
Burning details: Keep the power down on your burning pen. I see lots of people go way overboard when attempting to do this technique. These burnt lines will really pay off when the paint is applied, but they look pretty messy if it looks like a soldering iron was used instead of the proper burning pen.
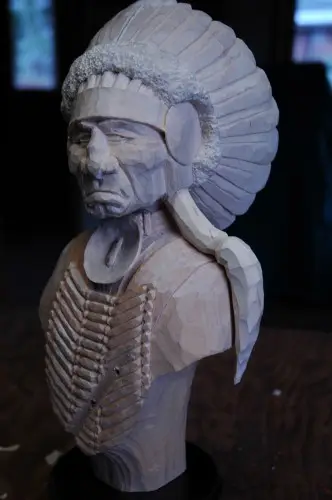
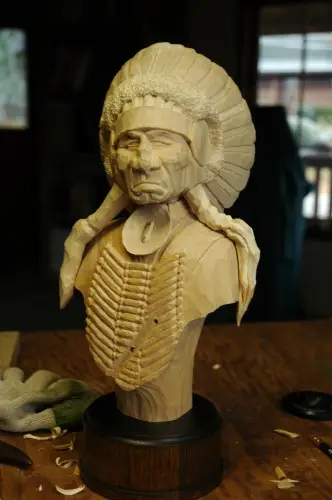
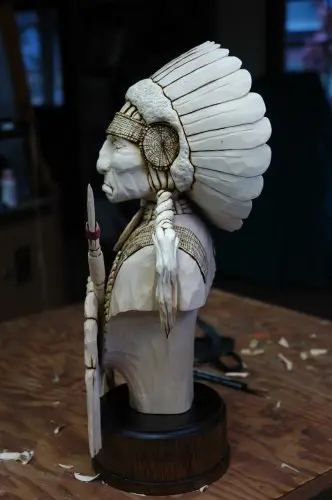
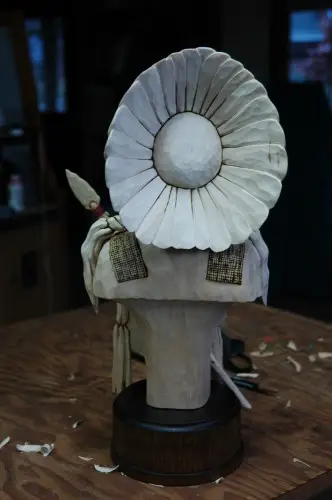
Next up in the Part 6 is the final details on the Bonnet.
Comments welcome. To