Want to bring your characters to life? Well, the first thing you have to consider is whether your want your character to look like a lifeless wooden figure or whether you want to make it look like it’s ready to get up and walk off the table once you’ve added that final touch.
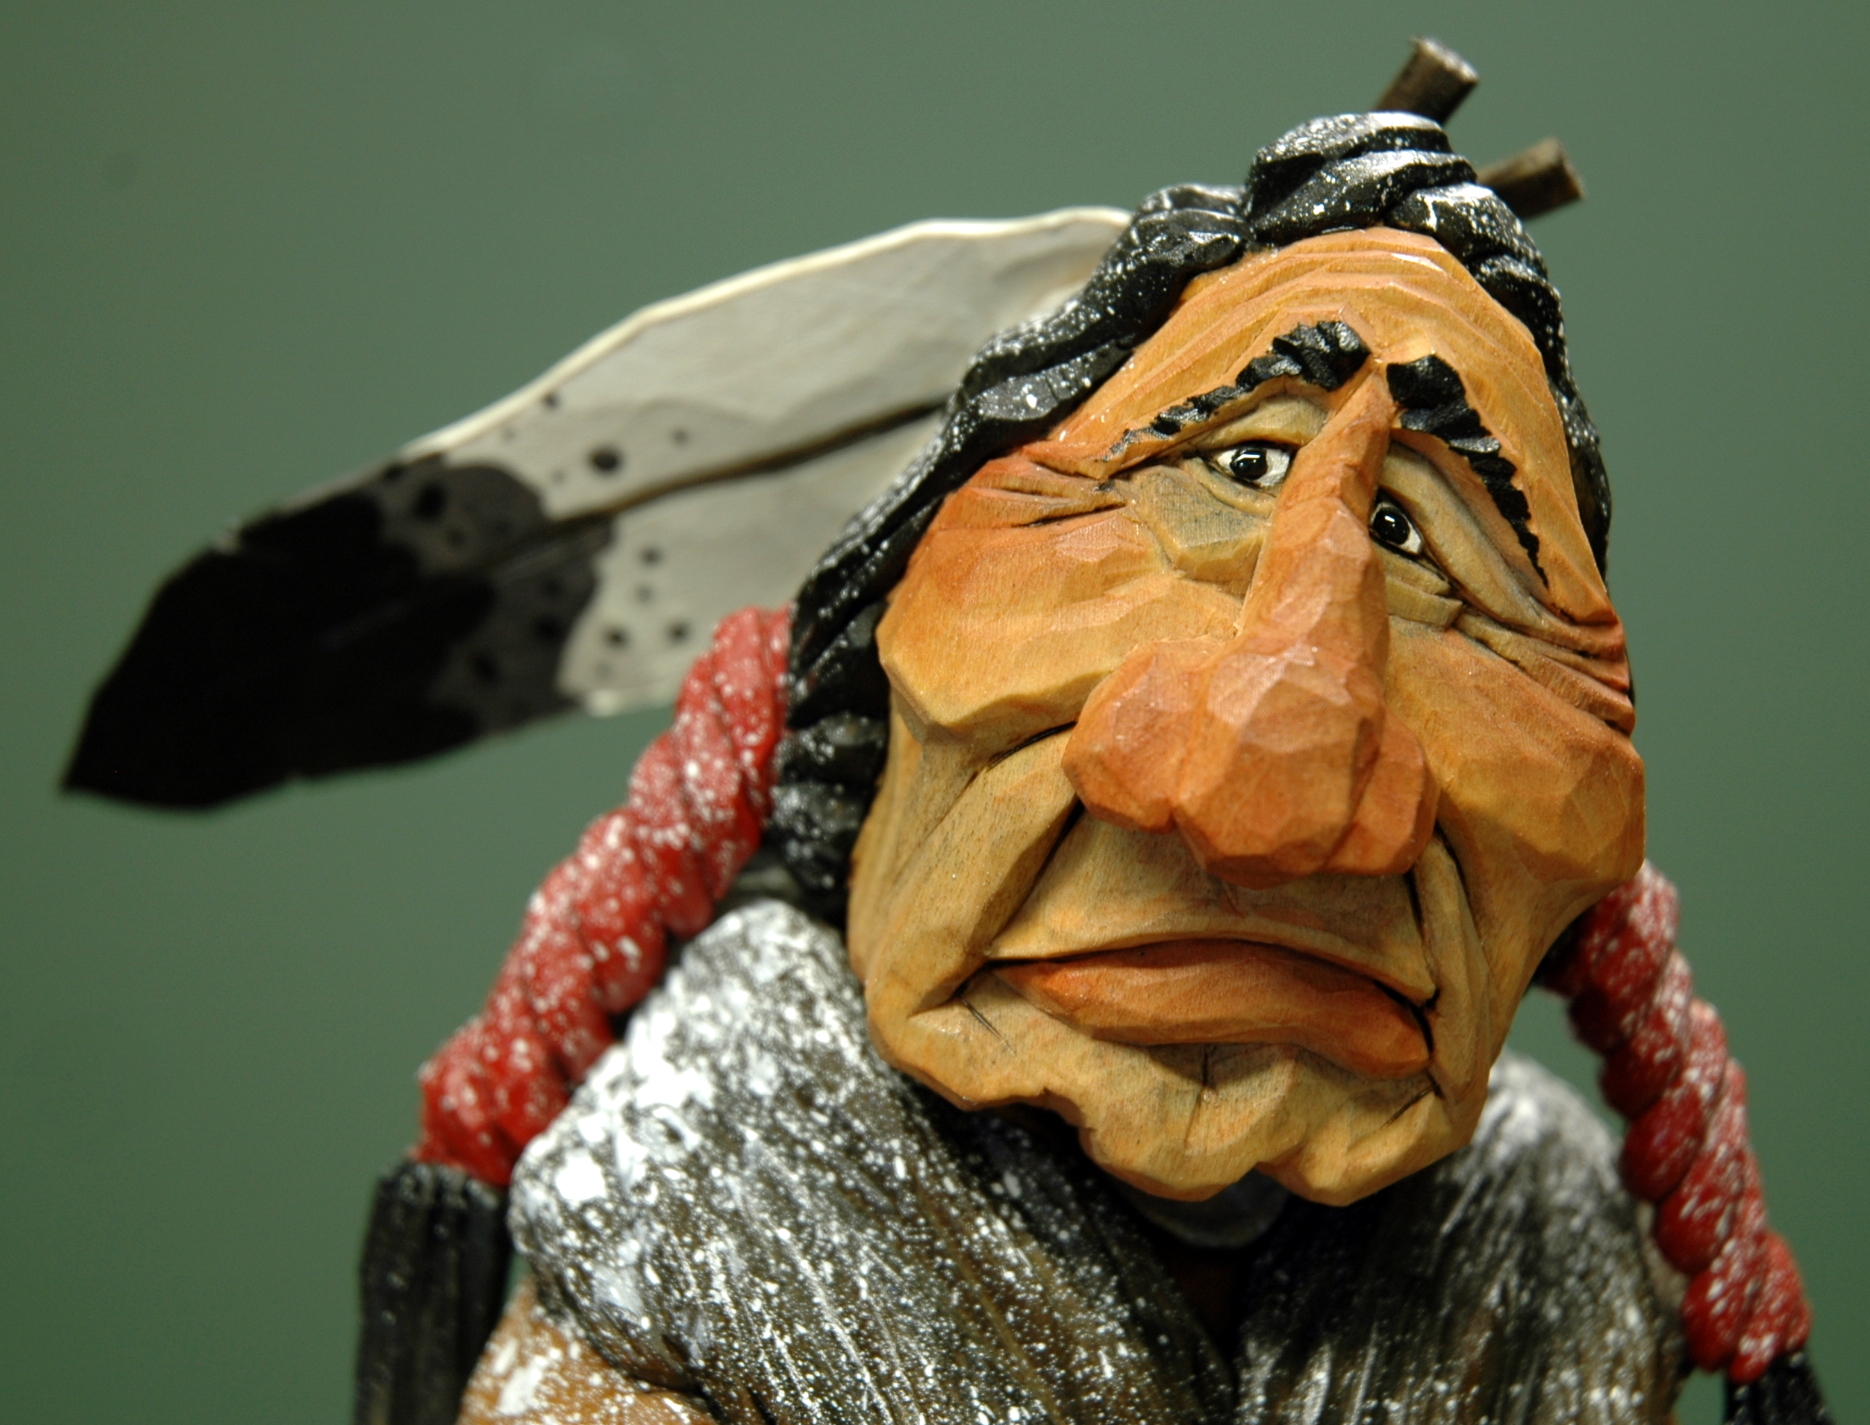
Take a moment and look closely at the face of Black Elk. See his face and especially his eye’s? I’ll bet you’re almost waiting for him to blink because they are so lifelike. Why? Well, those highlights on his pupils are not painted, they are reflections of the lights in his surroundings. Maybe they are from the nearby lights in the room, an open window, or a reflection from your bright, shiny knife blade, wherever they come from it’s wasn’t from a paint tube or bottle. Notice his left eye highlight is only a small spot while his right is a combination of several different shapes. This is caused by the rounded surface of the pupil just like your own pupils. To do this it only takes black dot of paint along with a toothpick and a small bit of clear Epoxy carefully placed. It’s that simple. Black? Well, what about all the other colors that eye pupils have? Take a moment and do this…Turn on your TV and look at the people’s eyes. Do you see all those colors? Maybe if you hit the pause button and then squint real closely. No, what you will probably see is what you saw when looking at Black Elk. Two small dots with moving highlights. I love it when I pick up a new piece and watch the highlights on his or her eyes move around as I move. They’re alive! At least in my eyes.
Now, if you’re like me, you’re going to look at Black Elk once more and then turn around to try and see just what he’s looking at! He’s definitely looking at something. I think it’s the refrigerator behind me! He must be hungry!
Comments welcome.
Thank you for sharing this tip, I have learned so much from you and your carvings! Again Thank YOU
Lynn, great tip on achieving that glossy eye. I have a question about how you prepare your carvings for paint. I’ve seen in your video where you burn the buffalo fur; torch it even. Why do you do this step when the dark brown will essentially cover up those charred marks?
It burns off the fuzzy surface left by the Dremel. The burnt area just might add to the depth of the colors applied to that surface.