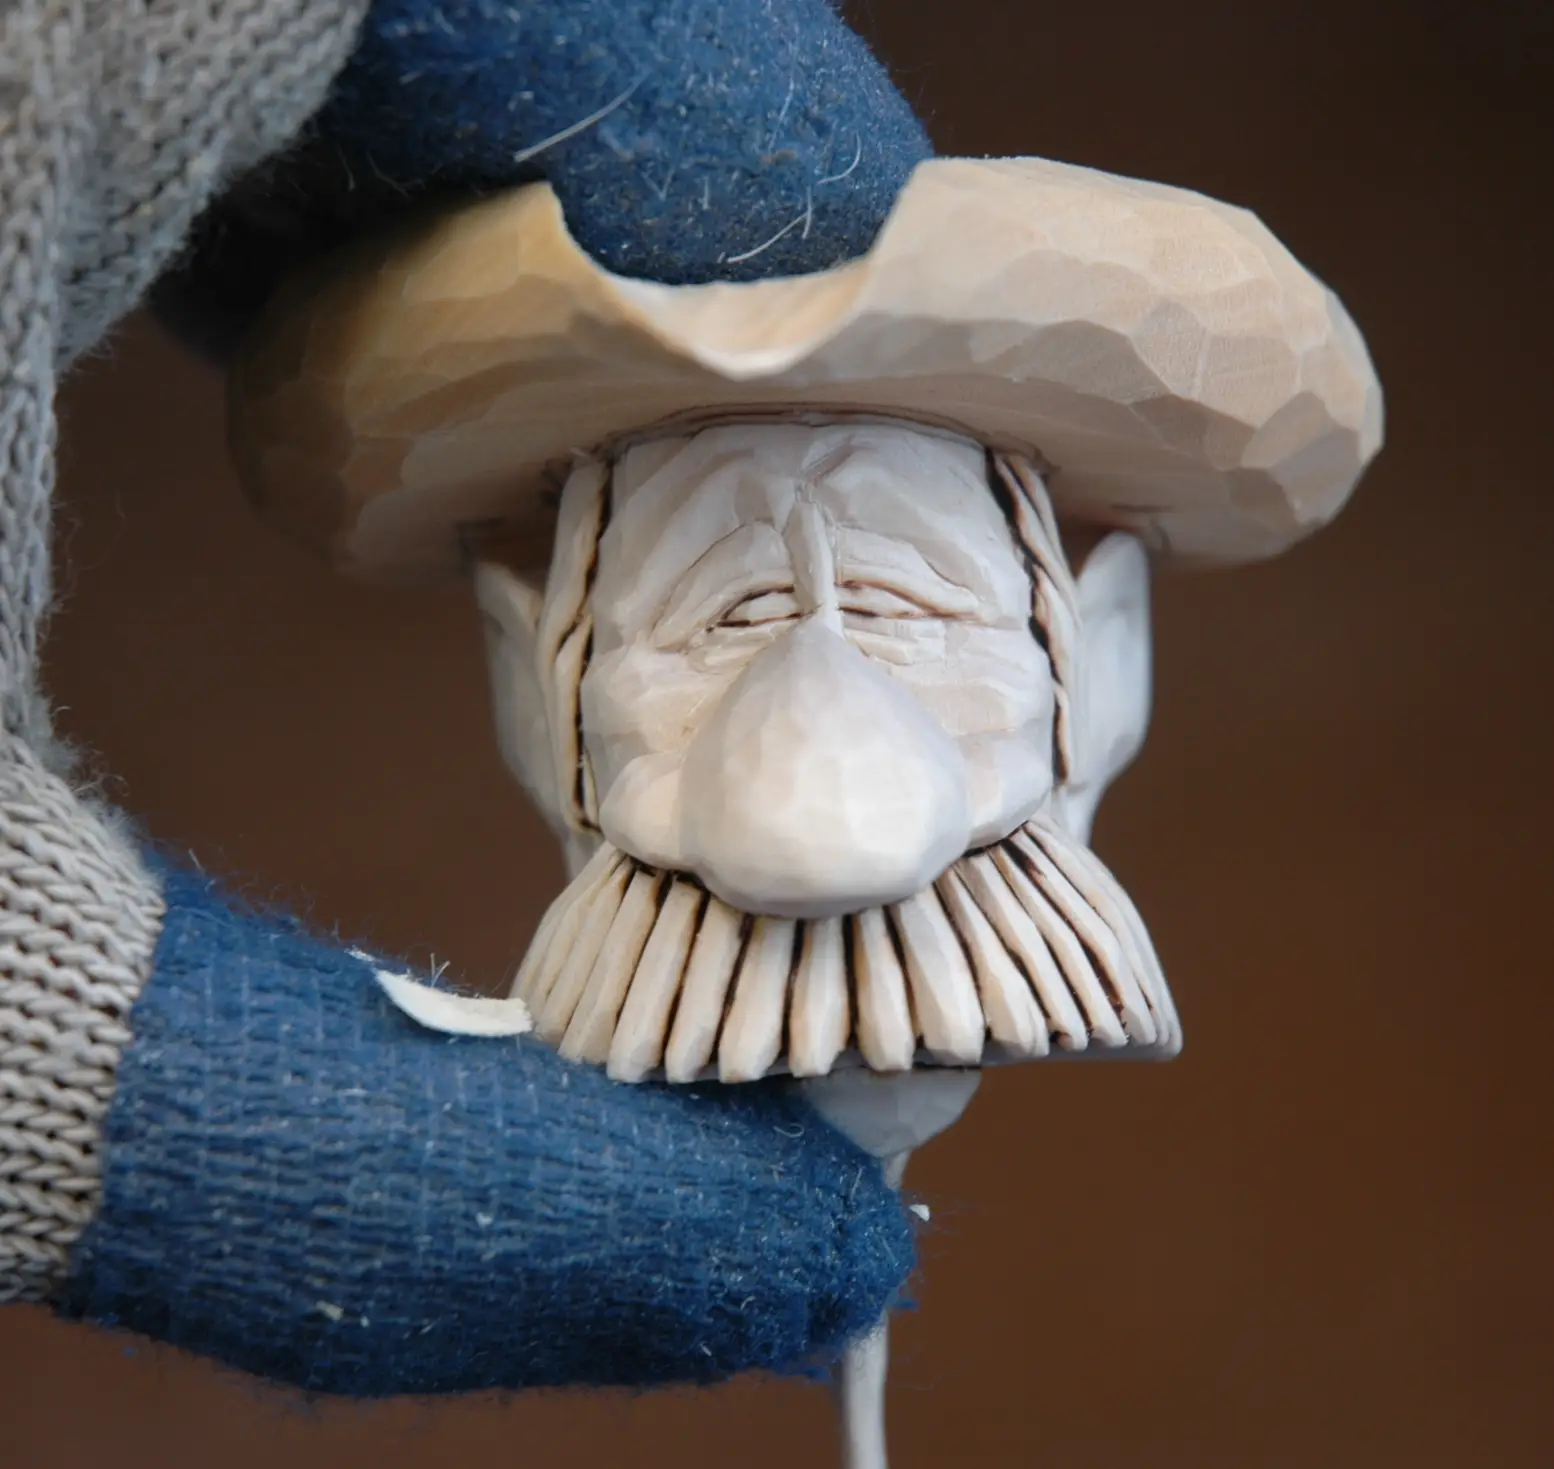
In Part 2 we create the Bust of the figure and the Cowboy’s hat. Again, you can change the sizes if you want and use the photos to determine what the correct measurements should be for the various parts. Finally, those High School math and drafting classes pay off. Just be careful lopping poor Buckeye’s top off! I use a graphite sketching pencil to color the top of his head which helps when creating the indentation on the bottom of the hat. That allows the head to fit up into the hat to give a great appearance.
Good luck.

Thank you for sharing Lynn. I’ve learned so much from you In a short time. Thanks again James
I greatly appreciate your time and effort in posting your videos and photos. This is invaluable tutorial for me and younger people getting into carving and an inspiration to achieve your standards. Thanks again you are an amazing artist.